Project 11 Digital Push Button
1. Introduction
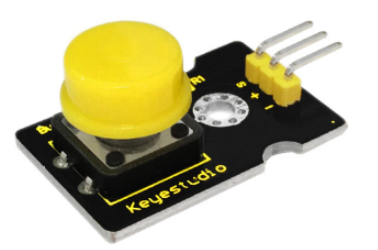
This is a basic button application module. Momentary Pushbutton Switch usually stays open. When it is pressed down, circuit connected; when it is released, it will bounce back to the status of disconnection. The module has three pins for easy connection. You can simply plug it into an IO shield to have your first try of Arduino.
2. Details
Interface: Digital
Supply Voltage: 3.3V to 5V
Easy to plug and operate
Large button keypad and high-quality button cap
Standard assembling structure
Easily recognizable pins
Icons illustrate sensor function clearly
Achieve interactive works
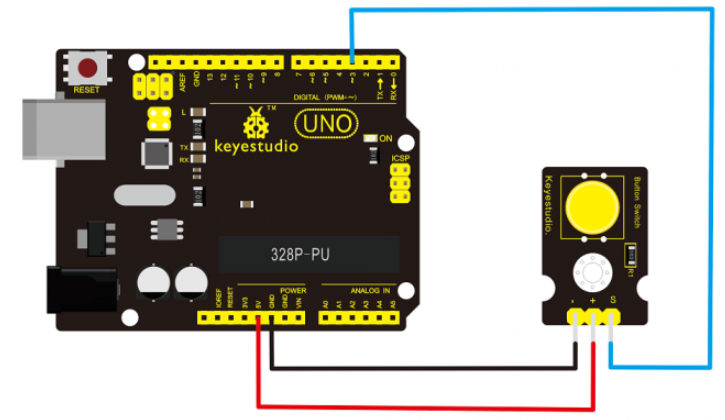
3. Connection Diagram
4. Sample Code
/* # When you push the digital button, the Led 13 on the board will turn on. Otherwise,the led turns off.
*/
int ledPin = 13;                // choose the pin for the LED
int inputPin = 3;               // Connect sensor to input pin 3

void setup()
{
  pinMode(ledPin, OUTPUT);      // declare LED as output
  pinMode(inputPin, INPUT);     // declare pushbutton as input
}

void loop()
{
  int val = digitalRead(inputPin);  // read input value
  if (val == HIGH) // check if the input is HIGH
  {
    digitalWrite(ledPin, LOW);  // turn LED OFF
  }
  else
  {
    digitalWrite(ledPin, HIGH); // turn LED ON
  }
}
5. Result
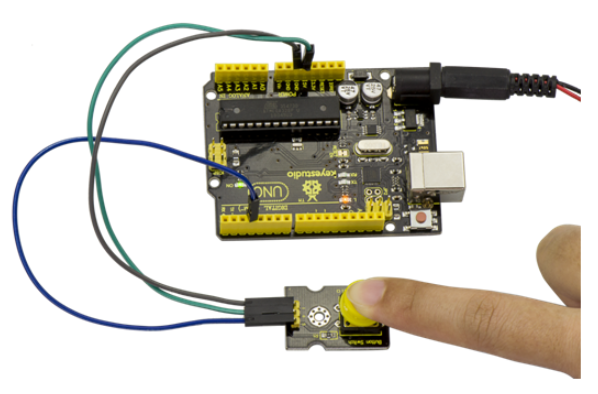
When you push the digital button, the Led 13 on UNO board will be on. When release the button,the led is off. Shown as below.